
Microgreens
What Are Microgreens?
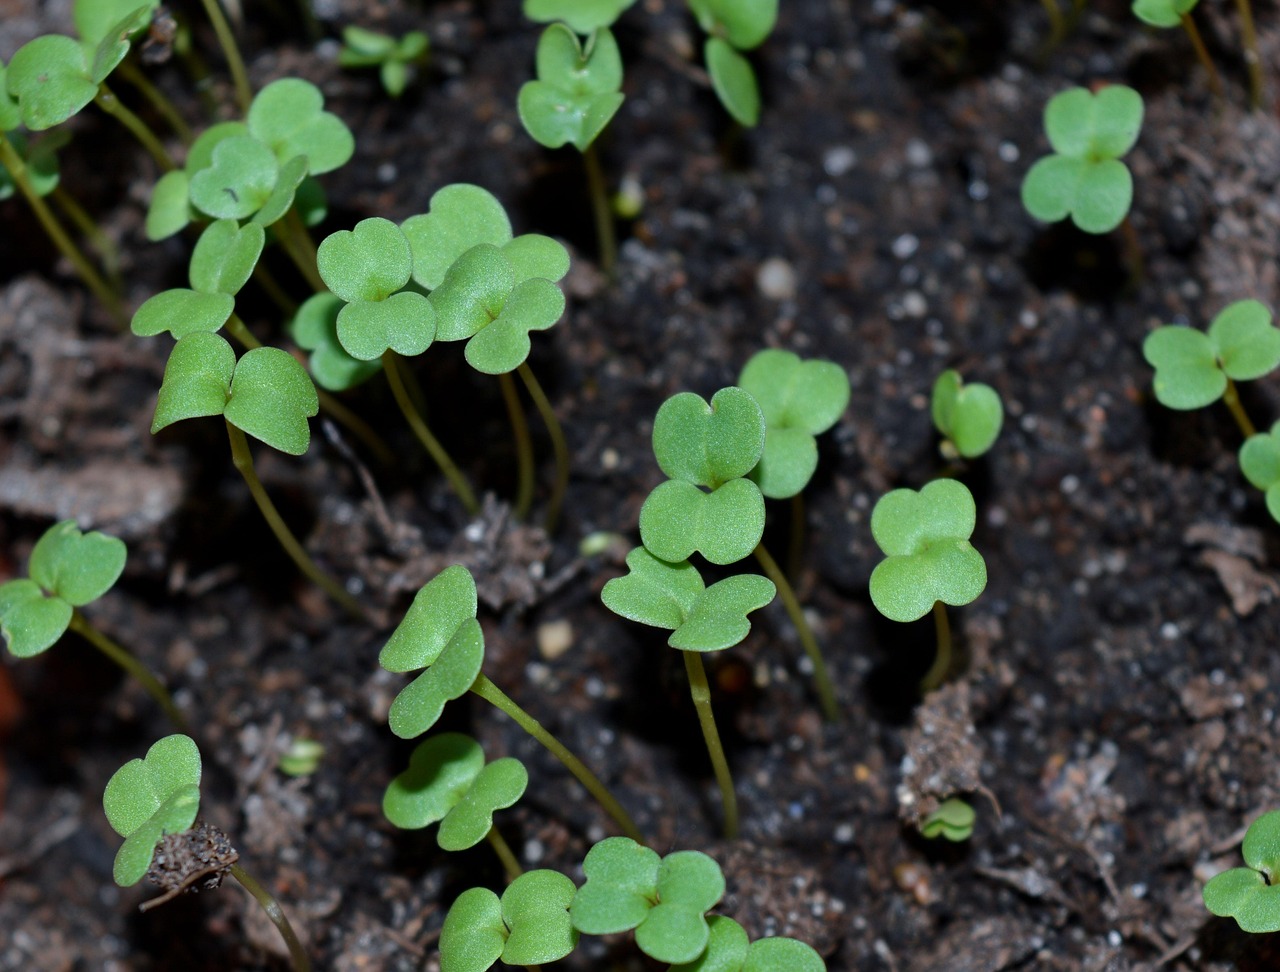
Microgreens are the young seedlings of vegetables, herbs, or grains, harvested shortly after the first true leaves develop—typically within 7 to 21 days after germination. Though tiny in size, these greens are packed with flavor, vibrant in color, and loaded with nutrients. Unlike sprouts, which are consumed whole, microgreens are grown in soil or another medium and are harvested above the root line.
Organic gardeners across the USA love microgreens for their ease of cultivation, short growth cycle, and culinary versatility. You can grow them in your kitchen, on a windowsill, on your balcony, or in a greenhouse—making them an ideal crop for gardeners in all climates and living spaces.
Why Are Microgreens Gaining Popularity in the USA?
The movement has swept across American cities and suburbs alike for a variety of reasons:
Nutritional Powerhouses
Studies by the USDA and academic institutions like the University of Maryland have revealed that microgreens can contain up to 40 times more nutrients than their mature counterparts. For instance, red cabbage are rich in vitamin C and beta-carotene, while broccoli microgreens are a top source of sulforaphane, a powerful antioxidant.
Quick and Easy to Grow
Microgreens grow so quickly that they’re often called the “instant garden.” With just a few basic supplies and 1–3 weeks of care, you’ll be harvesting vibrant greens right from your kitchen counter or backyard.
Perfect for Small Spaces
Microgreens are the ultimate urban gardening crop. You can grow them in trays, containers, or even repurposed salad clamshells. No large garden, tools, or machinery needed.
Great for All Seasons
Because they can be grown indoors with artificial light, provide a year-round supply of fresh greens—regardless of your local USDA growing zone or outdoor conditions.

Benefits of Growing Microgreens
Health and Nutrition
Microgreens are nutrient-dense foods. Studies from USDA and agricultural universities suggest that contain higher concentrations of:
- Vitamins A, C, and K
- Beta-carotene
- Antioxidants like sulforaphane (in broccoli microgreens)
Fast and Easy to Grow
- Germinate in just 2–3 days
- Harvest in 7–21 days
- Minimal garden space required
Ideal for Indoor or Urban Gardening
- Grow on windowsills, balconies, or under LED lights
- No need for a full backyard or large containers
Supports a Sustainable Lifestyle
Microgreens use:
No synthetic fertilizers or pesticides
Less water
Less energy
Smaller space
Microgreens vs Sprouts vs Baby Greens
Understanding the difference between microgreens, sprouts, and baby greens helps ensure you’re cultivating the right crop for your needs.
Microgreens
- Grown in soil or a soil-less medium like coconut coir
- Harvested above the root
- Typically ready in 7–21 days
- Nutrient-dense with developed flavor
Sprouts
- Grown in water, without soil or light
- Entire plant, including root, is eaten
- Ready in 2–5 days
- Higher contamination risk if not handled correctly
Baby Greens
- Grown in soil like mature vegetables
- Harvested after 3–4 weeks
- Larger, softer leaves
- Common in salad blends
Best Microgreens to Grow for Beginners
If you’re new to organic gardening, certain are particularly beginner-friendly due to their germination speed, resilience, and popularity.
Radish
Fast-growing with a spicy flavor. Ready in just 5–7 days and ideal for sandwiches, tacos, and stir-fries.
Broccoli
Mild flavor and packed with nutrients like sulforaphane. Broccoli microgreens are ready in 7–10 days and do well in most growing mediums.
Sunflower
Crunchy texture and nutty flavor. They require pre-soaking and a bit more space but are highly satisfying to grow.
Pea Shoots
Sweet and crisp, with a distinctive pea taste. They take a bit longer—usually 10–14 days—but yield large, satisfying greens.
Kale
One of the most nutrient-dense greens, kale microgreens are tender and grow easily in soil or coir.
Step-by-Step Guide: How to Grow Microgreens at Home
Step 1 – Gather Supplies
You’ll need:
- Organic microgreen seeds
- A shallow tray with drainage holes
- Growing medium (soil, coir, hemp mat)
- Spray bottle
- Light source (sunlight or grow light)
Step 2 – Prepare Your Tray
Fill your tray with 1–2 inches of moist growing medium. Flatten the surface gently.
Step 3 – Sow Your Seeds
Sprinkle seeds evenly over the surface. There’s no need to bury them. Mist the surface with water to keep seeds in place.
Step 4 – Cover and Germinate
Place a lid or damp paper towel over the seeds to block out light. Keep the tray in a warm spot (65–75°F). Most seeds sprout in 2–4 days.
Step 5 – Provide Light
Once sprouts appear, remove the cover and place your tray in bright sunlight or under a full-spectrum LED grow light for 12–16 hours a day.
Step 6 – Water Daily
Use a spray bottle to mist the greens or water from below to prevent mold. Keep the medium moist but not soggy.
Step 7 – Harvest
Use scissors to cut your microgreens just above the soil line when they’re 2–3 inches tall and have developed their first true leaves.
Soil vs Hydroponic Microgreens
Both growing methods are effective for organic microgreen production.
Soil-Based Microgreens
- Generally more flavorful and nutrient-rich
- Ideal for those with access to compost and natural amendments
Hydroponic Microgreens
- Grown on mats or pads using water only
- Require clean conditions and close monitoring
- Preferred in commercial or sterile indoor setups

Caring for Microgreens – Troubleshooting Common Issues
Even though they’re easy to grow, can run into problems. Here’s how to prevent or fix them.
Mold or Mildew
Cause: High humidity, overcrowding, poor airflow
Fix: Use fans, water less, and ensure proper spacing between trays
Yellow or Pale Greens
Cause: Insufficient light
Fix: Move to a sunnier location or install LED grow lights
Wilting or Drying
Cause: Underwatering or excessive heat
Fix: Check moisture levels and ensure a stable room temperature
Harvesting and Storing Microgreens
When to Harvest
Most are ready 7–14 days after planting. Harvest when the cotyledons (seed leaves) and the first true leaves appear.
How to Harvest
Cut just above the growing medium with sharp scissors. Handle gently to avoid bruising the delicate stems.
Storing Tips
- Store in an airtight container
- Use within 5–10 days for best freshness and nutrition
How to Use Microgreens in Meals
Microgreens aren’t just a pretty garnish. They add texture, flavor, and nutrients to a wide variety of dishes.
Culinary Uses
- Toss them into salads
- Blend into green smoothies
- Add to omelets or scrambled eggs
- Layer into sandwiches and wraps
- Garnish soups, curries, and pastas
Flavor Pairing
Spicy like radish and mustard pair well with fatty foods like avocado and cheese. Sweet greens like pea shoots match well with citrus and balsamic flavors.
Growing Microgreens Year-Round in the USA
Microgreens are a 365-day crop, especially when grown indoors. Here’s how to adapt to your region:
Cold Climates (USDA Zones 3–6)
- Use insulated trays
- Grow indoors with heating mats and lights
- Ideal winter crop when outdoor gardening is dormant
Mild Climates (USDA Zones 7–9)
- Can be grown outside in spring and fall
- Protect from intense summer heat
Hot Climates (USDA Zones 10–11)
- Grow indoors during hot summers to avoid wilting
- Use partial shade when growing outside
Can You Sell Microgreens? A Beginner’s Guide to Business
Is It Profitable?
Yes! Microgreens are a high-value crop. They can sell for $25–$40 per pound. With just a few trays and consistent production, many hobby growers turn their passion into a thriving side business.
Where to Sell Microgreens
- Farmers markets
- Health food stores
- Restaurants and cafes
- Local CSA programs
- Online via social media or a website
Business Startup Tips
- Track expenses (seeds, lights, water)
- Offer free samples to chefs
- Stay compliant with local food safety regulations
- Get USDA Organic certified if desired
Organic Certification and Legal Guidelines in the USA
Can You Label Your Microgreens as Organic?
Yes, but only if:
- Your seeds are organic
- You use approved inputs
- You get certified by a USDA-accredited agency
Local Regulations
Labeling and food safety are critical when selling to restaurants or stores
Check with your state’s Department of Agriculture
Some counties have cottage laws that allow direct sales

Sustainability and Microgreens – A Perfect Match
Minimal Inputs
Require very little water, energy, and space compared to traditional farming. A tray the size of a dinner plate can produce dozens of servings.
Regenerative Potential
Compost your used growing media, reuse trays, and integrate into a zero-waste gardening system.
Eco-Friendly Packaging
If you sell microgreens, use compostable packaging or offer bulk refills to reduce single-use plastics.
FAQs About Microgreens
Are microgreens safe to eat raw?
Yes. Just wash them gently before consuming.
Can I reuse soil for microgreens?
It’s better to compost it and start fresh to avoid mold and disease.
Do I need grow lights for microgreens indoors?
Yes, if natural light is insufficient. LED grow lights are ideal.
Can I grow microgreens without soil?
Absolutely! Use hydroponic pads or coconut coir as a medium.
Final Thoughts: Why You Should Start Growing Microgreens Today
Microgreens are more than just a trendy addition to your plate. They represent the future of sustainable, nutrient-dense, homegrown food. Whether you’re growing for health, flavor, education, or income—these tiny plants deliver big rewards.
With minimal investment and just a little time, anyone in the USA—from urban dwellers to rural homesteaders—can start enjoying the benefits of growing organically. They’re a perfect introduction to organic gardening, and a powerful tool for living a more self-sufficient, health-focused lifestyle.